This is a guide I wrote a little while back, and I decided to post it here because why not.
Do you wish you could make your own fancy Minecraft text? Well, do I have a solution for you!
Actually, I have TWO solutions for you! Option one is easier, but looks worse! Option two is harder, but looks way better! I should probably stop using exclamation marks! Onto the tutorial!
Option 1: Textcraft
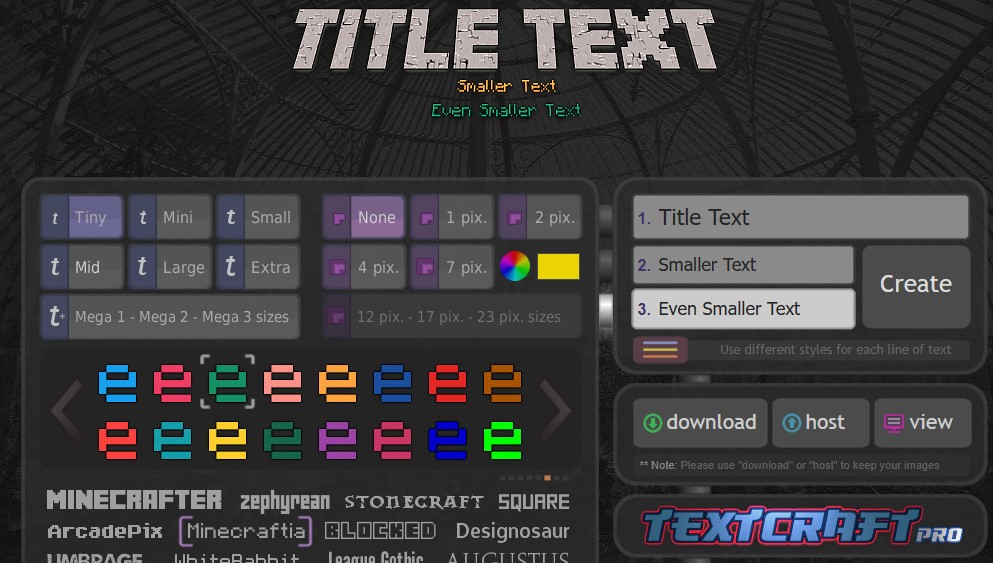
- Go to textcraft.net
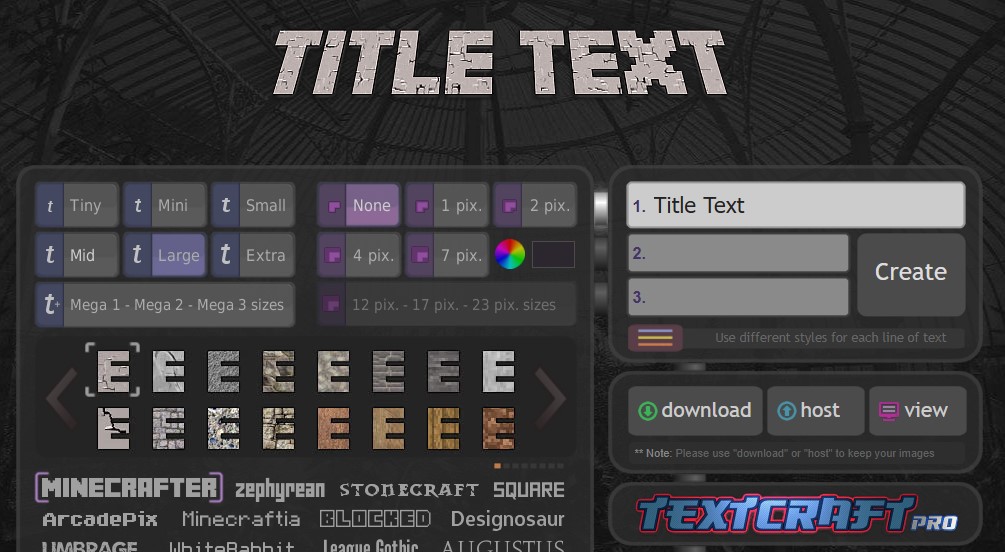
- On the first box, you can type the main title text (see figure 1.2)
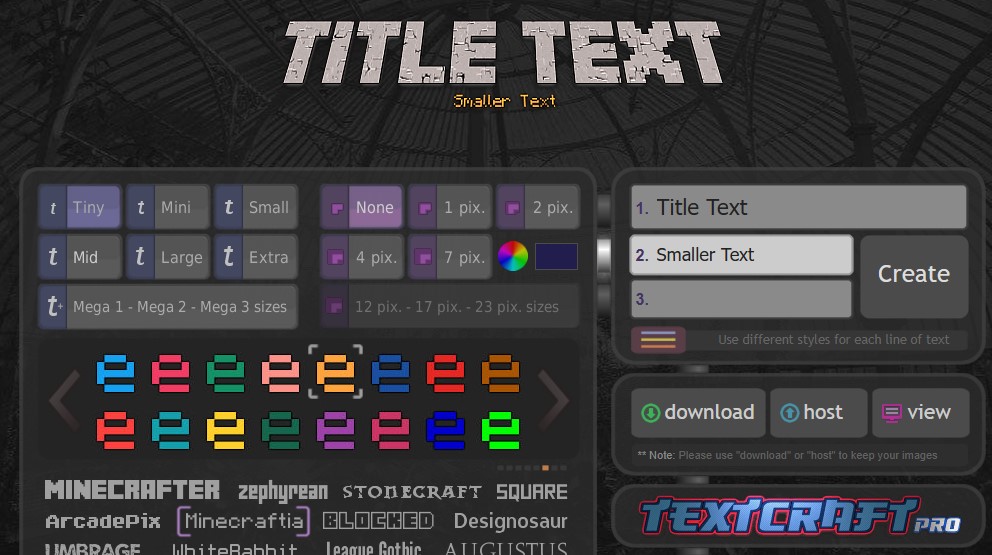
- The second box is smaller (see figure 1.3)
- The third box is (you guessed it) even smaller (see figure 1.4)
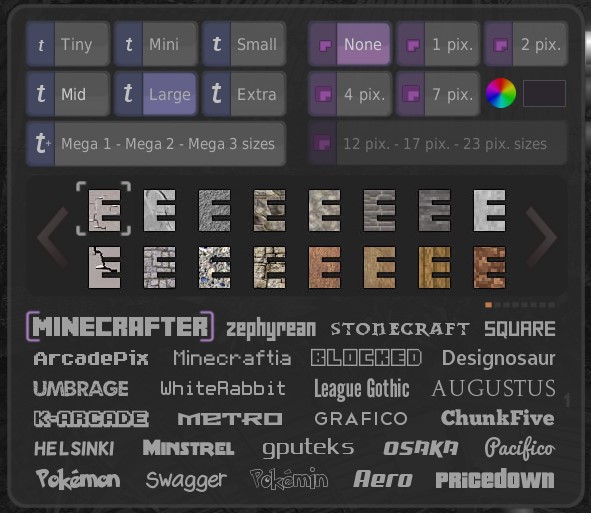
- You can customize the color and font of each row on the left side (see figure 1.5)
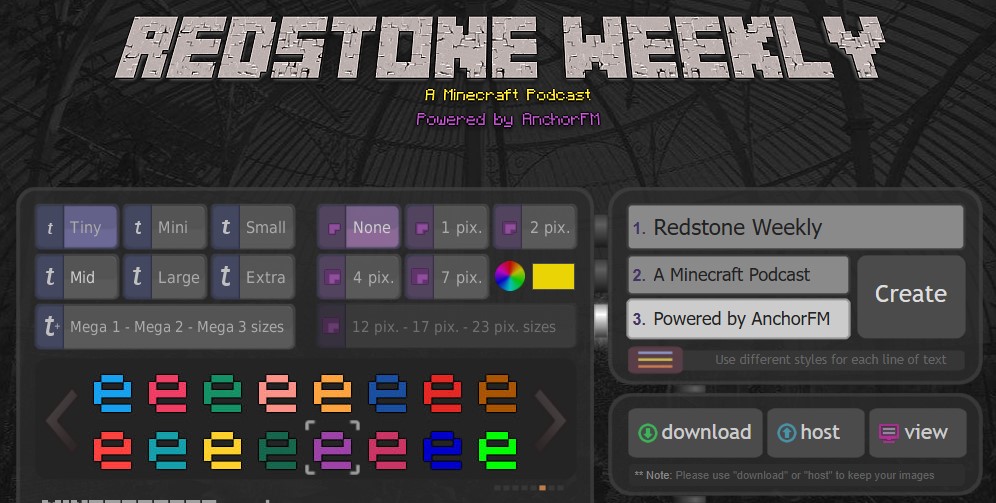
- I’m going to stylize it to look like a certain podcast’s old logo (see figure 1.6)
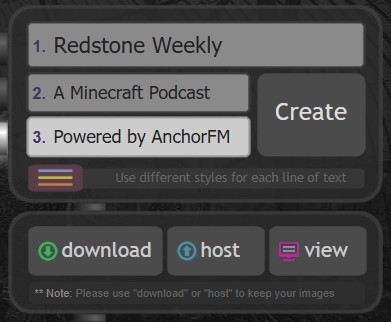
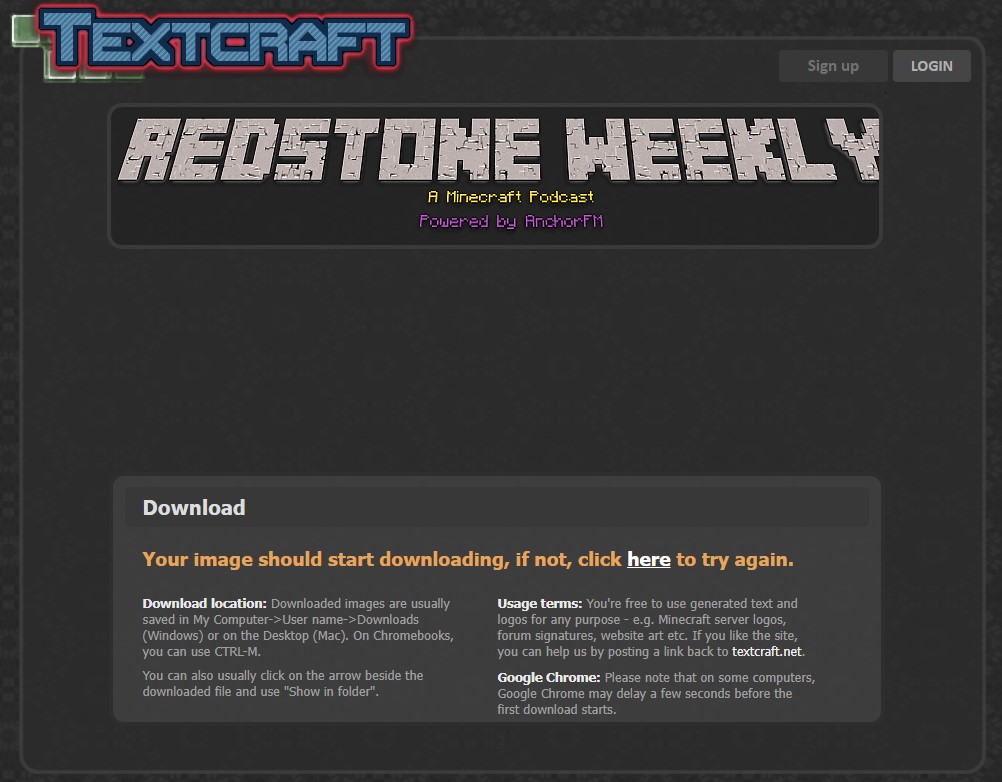
- Finally, let’s export this image using the Download button (see figure 1.7)
- After a few seconds… (see figure 1.8)
- It’s downloaded, and ready to be layered onto any image through an image editing program! (see figure 1.9)
Option 1 Images:

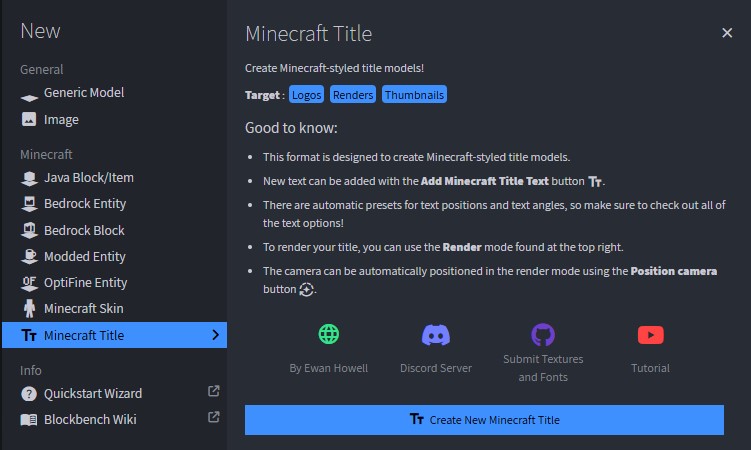
Option 2: Minecraft Title Generator (Includes video by pack creator)
- Install Blockbench. It’s a 3D modeling software that can do many things, but in this case we’re going to use it to make Minecraft text. You can also use the web app, as it has all the same features.
- Add the Minecraft Title Generator plugin from the plugin manager (toolbar in the top > file > plugins) (see figure 2.2)
- Create a new Minecraft Title model (see figure 2.3)
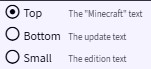
- There are 3 core parts of a Minecraft title: Top (Minecraft Text), Bottom (Update Text), and Small (Edition Text). We’ll start with Top. (see figure 3.4)
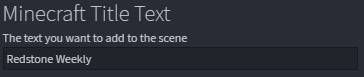
- Go ahead and type out some text in the top box. You can do a capital A for the creeper face. (see figure 2.5)
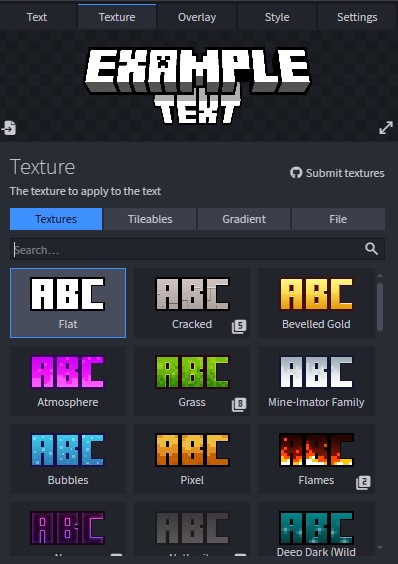
- On the texture tab, you can choose a bunch of textures. I’m going to go with Flat. Some textures have subtextures as well. (see figure 2.6)
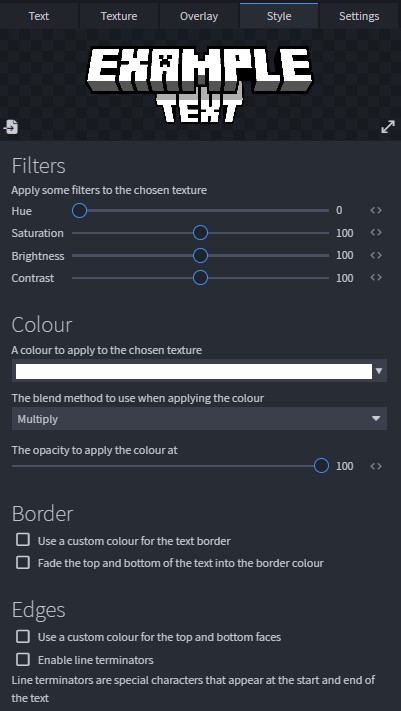
- Skip the Overlay tab. On the Style tab, you can choose a color to fill it with. I’m just going to leave it white. (see figure 2.7)
- Now click finish. You’ll see your Top text as a 3D model. Don’t work about positioning, the plugin does it automatically during rendering. (see figure 2.8)
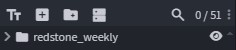
- If you want to add more text, you can click the double T button on the right sidebar to add more. I’m going to add some Small text and make it yellow. (see figure 2.9)
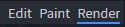
- Finally, let’s render the text. Click the button in the top right. (see figure 2.10)
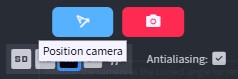
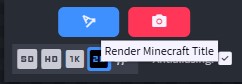
- Click the blue button with a tilted A to position it correctly. (see figure 2.11)
- Now you can choose a resolution, and render. For me, 2K works great. If you uncheck Antialiasing, you can do 4K, but I find it overkill. Now click the render button! (see figure 2.12)
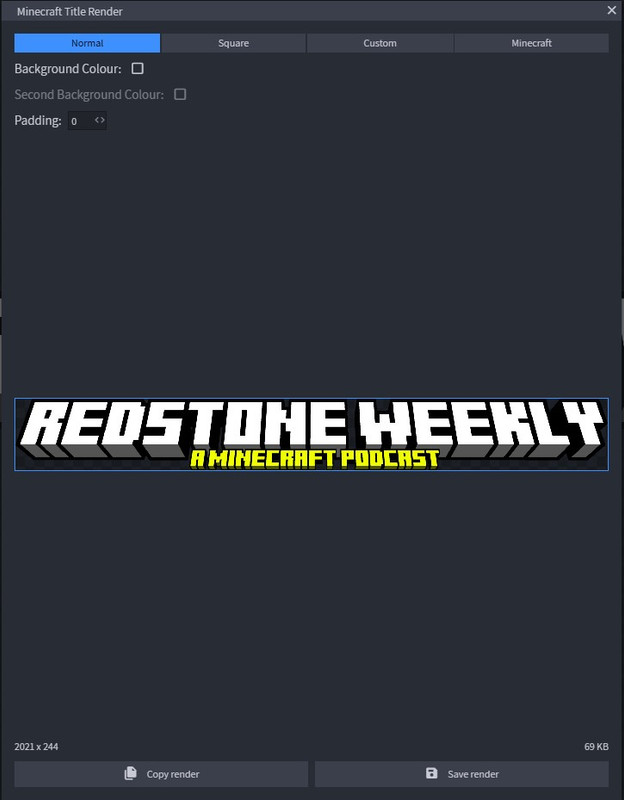
- You can change the format if you’re working with a resource pack, but I’m just going to leave it on Normal. Click the save render button, choose a location (if you’re on the web version, it’ll be downloaded to your downloads folder), and you’re done!
- Now you can layer it onto any other image with an image editing program! (see figure 2.13 and figure 2.14)
Option 2 Images: