How to install Java
Why would I want to know how to install Java?
Several reasons. Perhaps you want to host your own Minecraft server. Or maybe you want to code in Java yourself. Whatever the reason, this guide will show you how to do 3 things: Install Java, mark it as your main Java installation, and allow opening .jar files with it.
Can’t I just get the java installer from the website?
Yes, but that’s stuck on Java 8. If you want/need a newer version of Java, you’ll need to install it using this method.
This guide is only for Windows, sorry MacOS and Linux users
Installing Java
First, you’ll want to go to jdk.java.net. Click on the latest “Ready for use” JDK option. For me, that’s JDK 24. Click on the windows zip option.


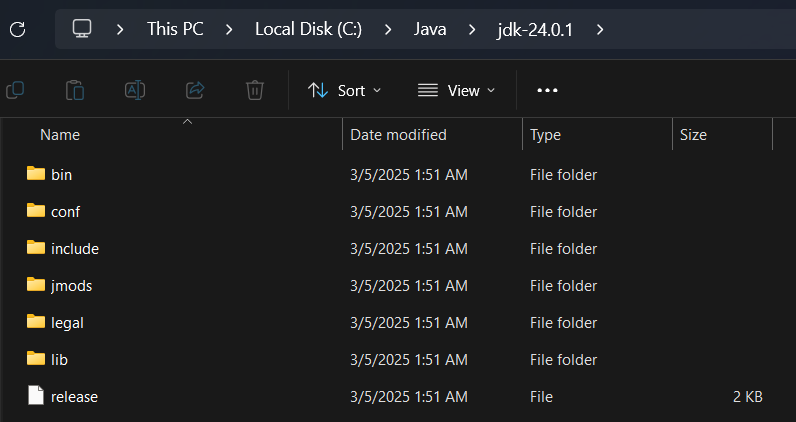
After it downloads, extract the files into some directory. For me, I’ll put them in a Java folder in my root drive. Your path should look something like this:
Adding Java to environment variables
You’ll need admin access or access to an admin for this step
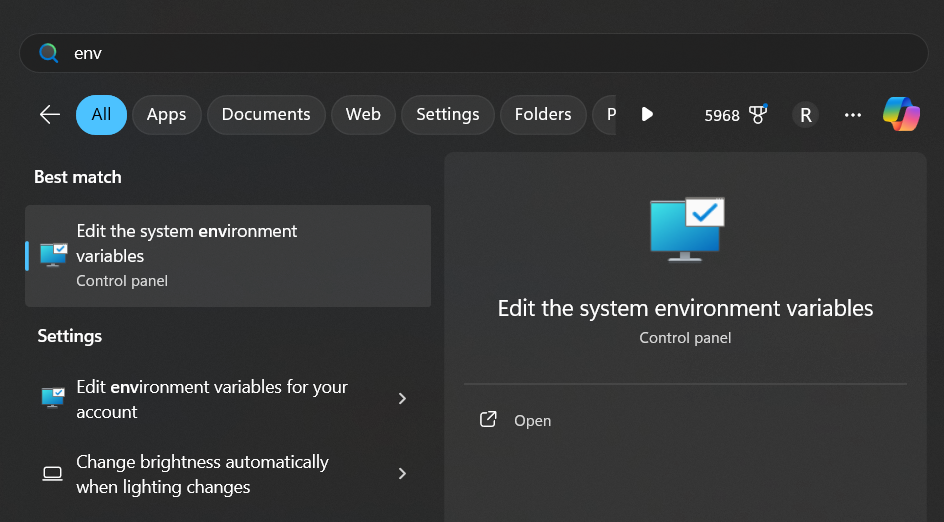
Open start, and search “Environment variables”. Choose the “Edit the system environment variables”.
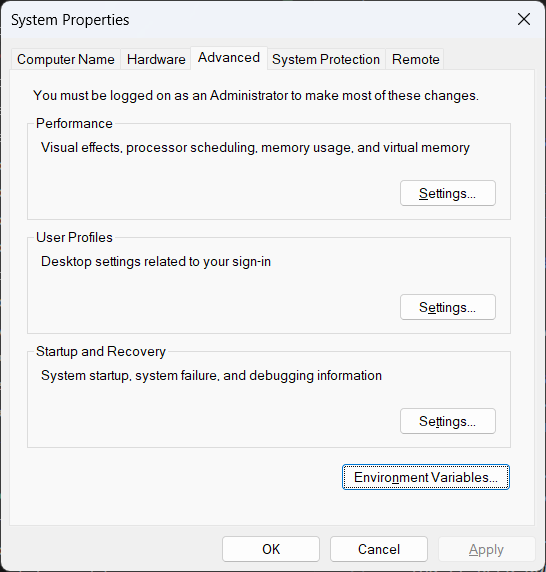
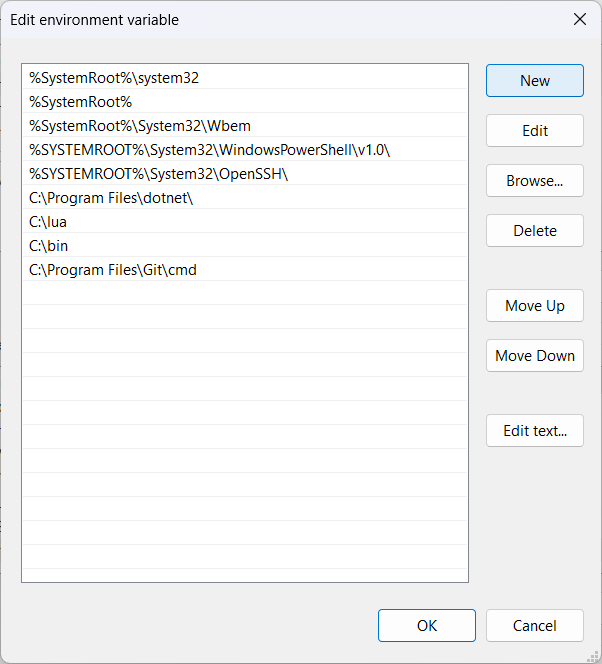
Click on Environment variables. In the bottom section, select Path, and click edit.
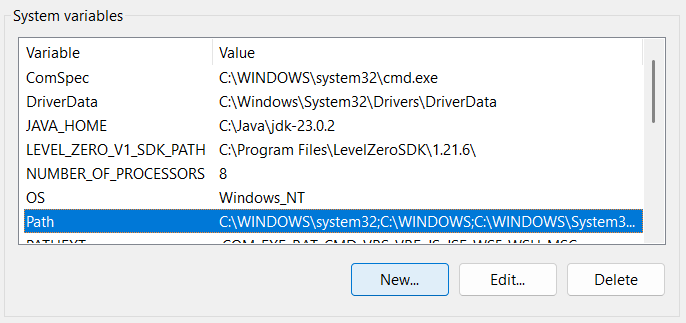
Copy the address for the bin folder in your java folder (for me that’s C:\Java\jdk-24.0.1\bin), and click new. Paste in the path.
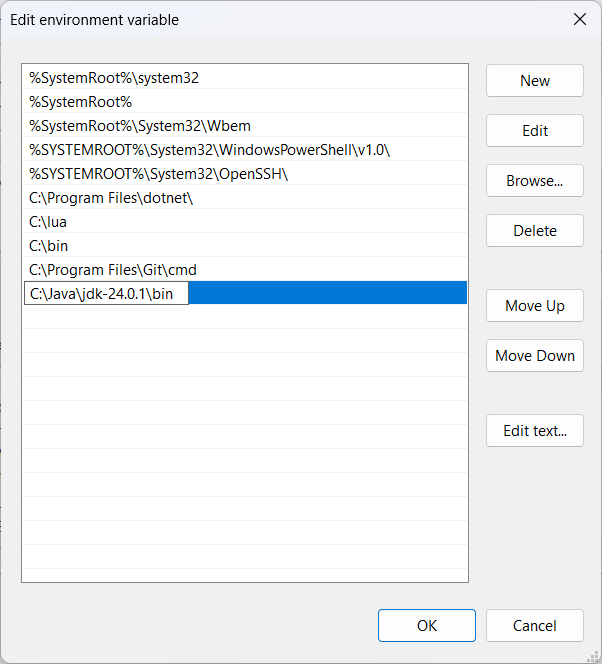
Click Ok to close the menu.
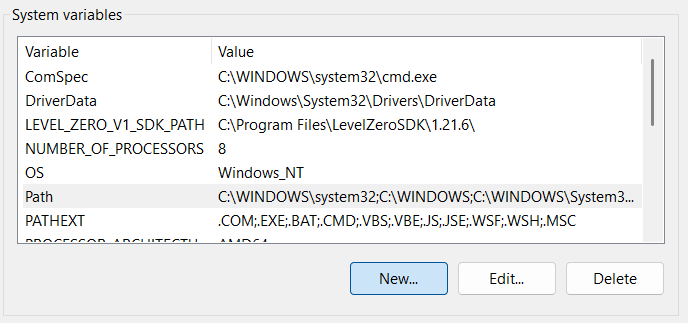
Now, add a new variable to the system variables. The name should be JAVA_HOME. The value should be your java folder (for me that’s C:\Java\jdk-24.0.1).
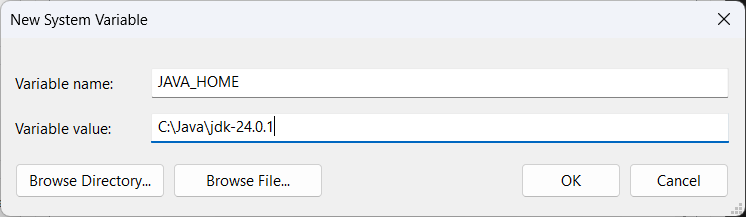
Click ok 3 times to close the menus.
To test, open command prompt and type java -version. You should get something like this:

Launching .jar files with java.
To launch a jar file, just open command prompt. Run java -jar PATH_TO_JAR (replace PATH_TO_JAR with the actual path), and click enter. This should work for most installing .jar files. For actual applications, you may want to use cd to navigate into the directory that the file is in.
Associating .jar files to automatically use Java
You’ll need a .jar file for this, so if you don’t have one, use this link.
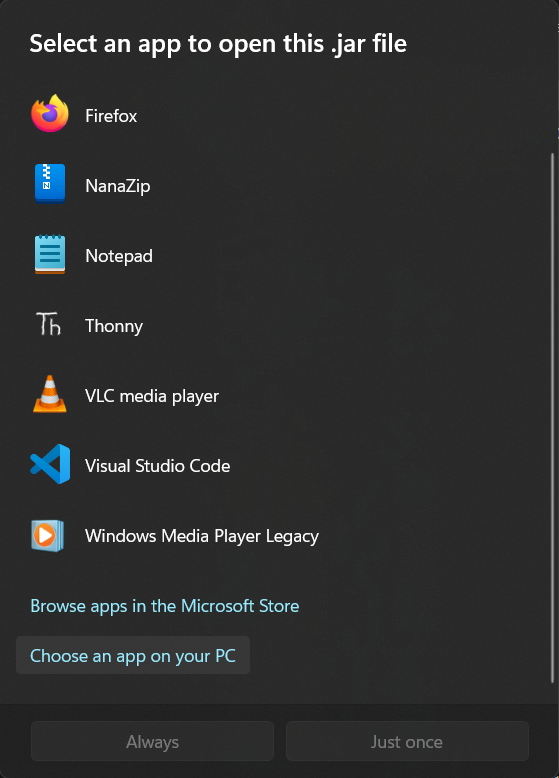
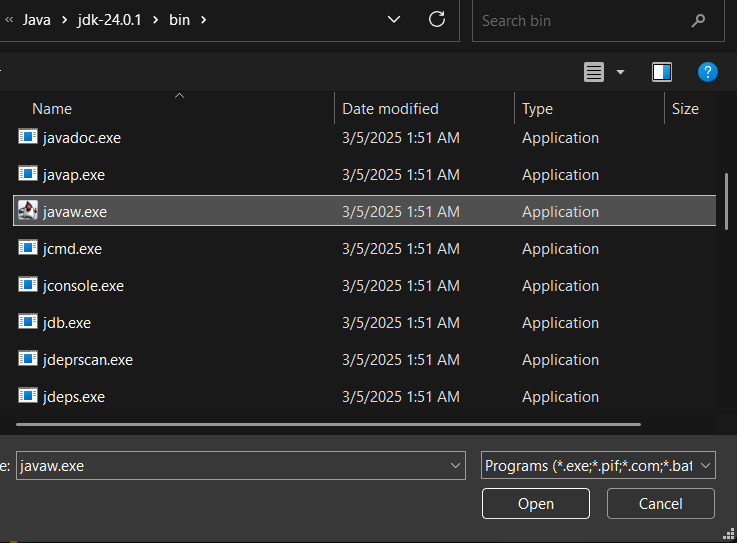
Double click on the file, and in the list of options, choose Choose an app on your PC. Choose the javaw.exe file in the java bin folder, and click Use Always (or check the box on Windows 10).
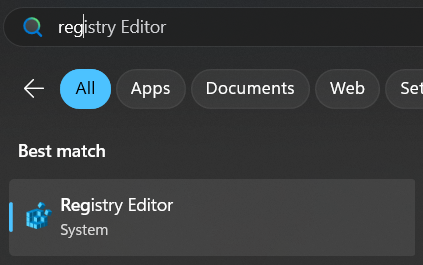
There’s one more step, however. Click start, and search reg. Open registry editor.
On the sidebar, double click HKEY_CLASSES_ROOT, and inside of that double click jar_auto_file. Repeat for shell, open, and command. On the main view, edit the (default) entry (double click it).
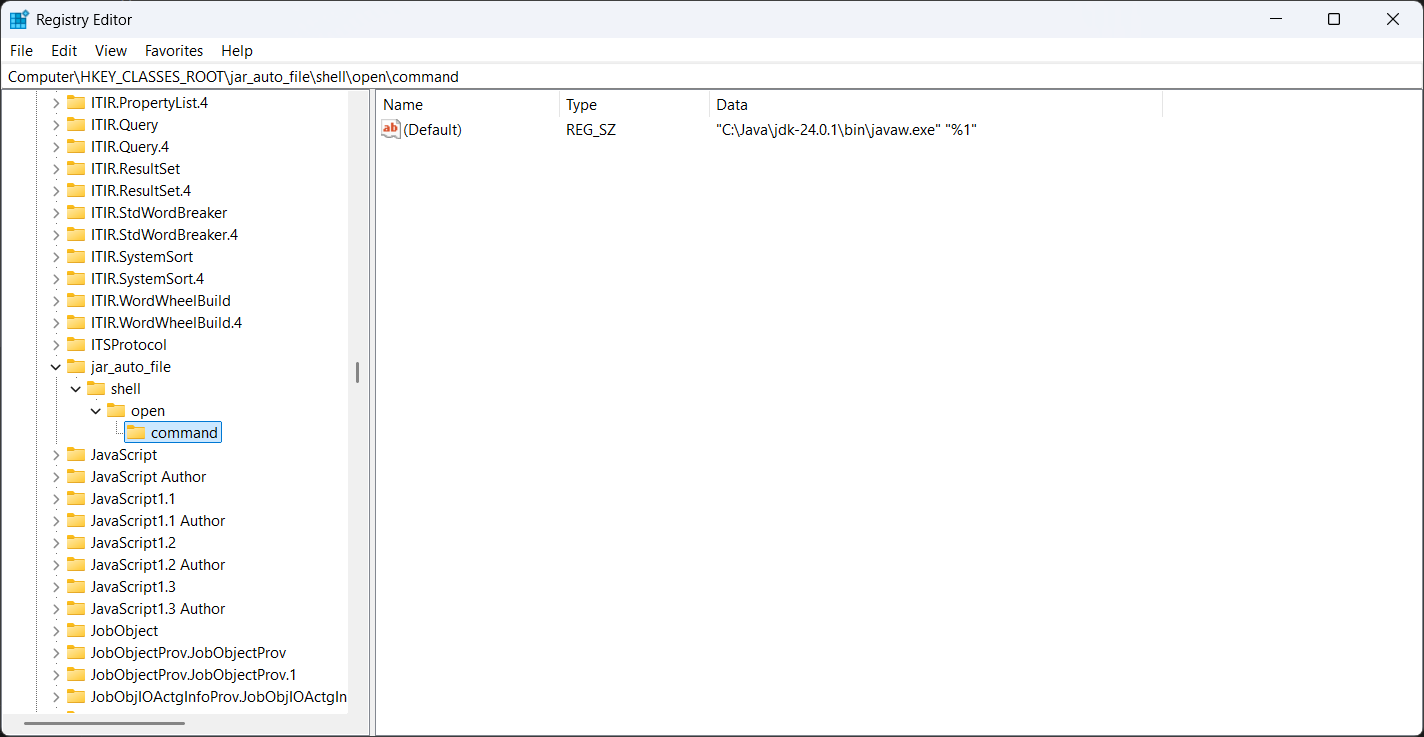
In the field that pops up, add -jar like so:

Finally, click ok, and close registry editor. Restart your computer, and .jar files should now open properly.
If anything in this guide didn’t work for you, please feel free to email me using the email address on the bottom of this website.